Our 2nd graders became official Buncee Student Artists!

Before you read this super fun post, please watch the short little clip at the top from Tracy Ferguson's 2nd grade classroom at Van Meter last Friday so you can share the excitement of them as their art work was revealed as real Buncee stickers and backgrounds.
It was just one of the best moments with students ever!

In the first post of this new project and four part blog series, Bringing Our Students Art To Life With Buncee, I shared how this project started and how it was making such a difference in the lives of our students as they became the very first Buncee Student Artists!

This last week, their art work came to life right in front of their eyes as we Skyped with the Buncee creator and CEO, Marie Arturi, and her Buncee team in New York City and on Long Island.
Throughout the day, Buncee Skyped with all three of our 2nd grade classrooms who were part of this amazing digital storytelling project. We started in Staci Braun's classroom.


We gave our students a chance to ask questions and make suggestions too.

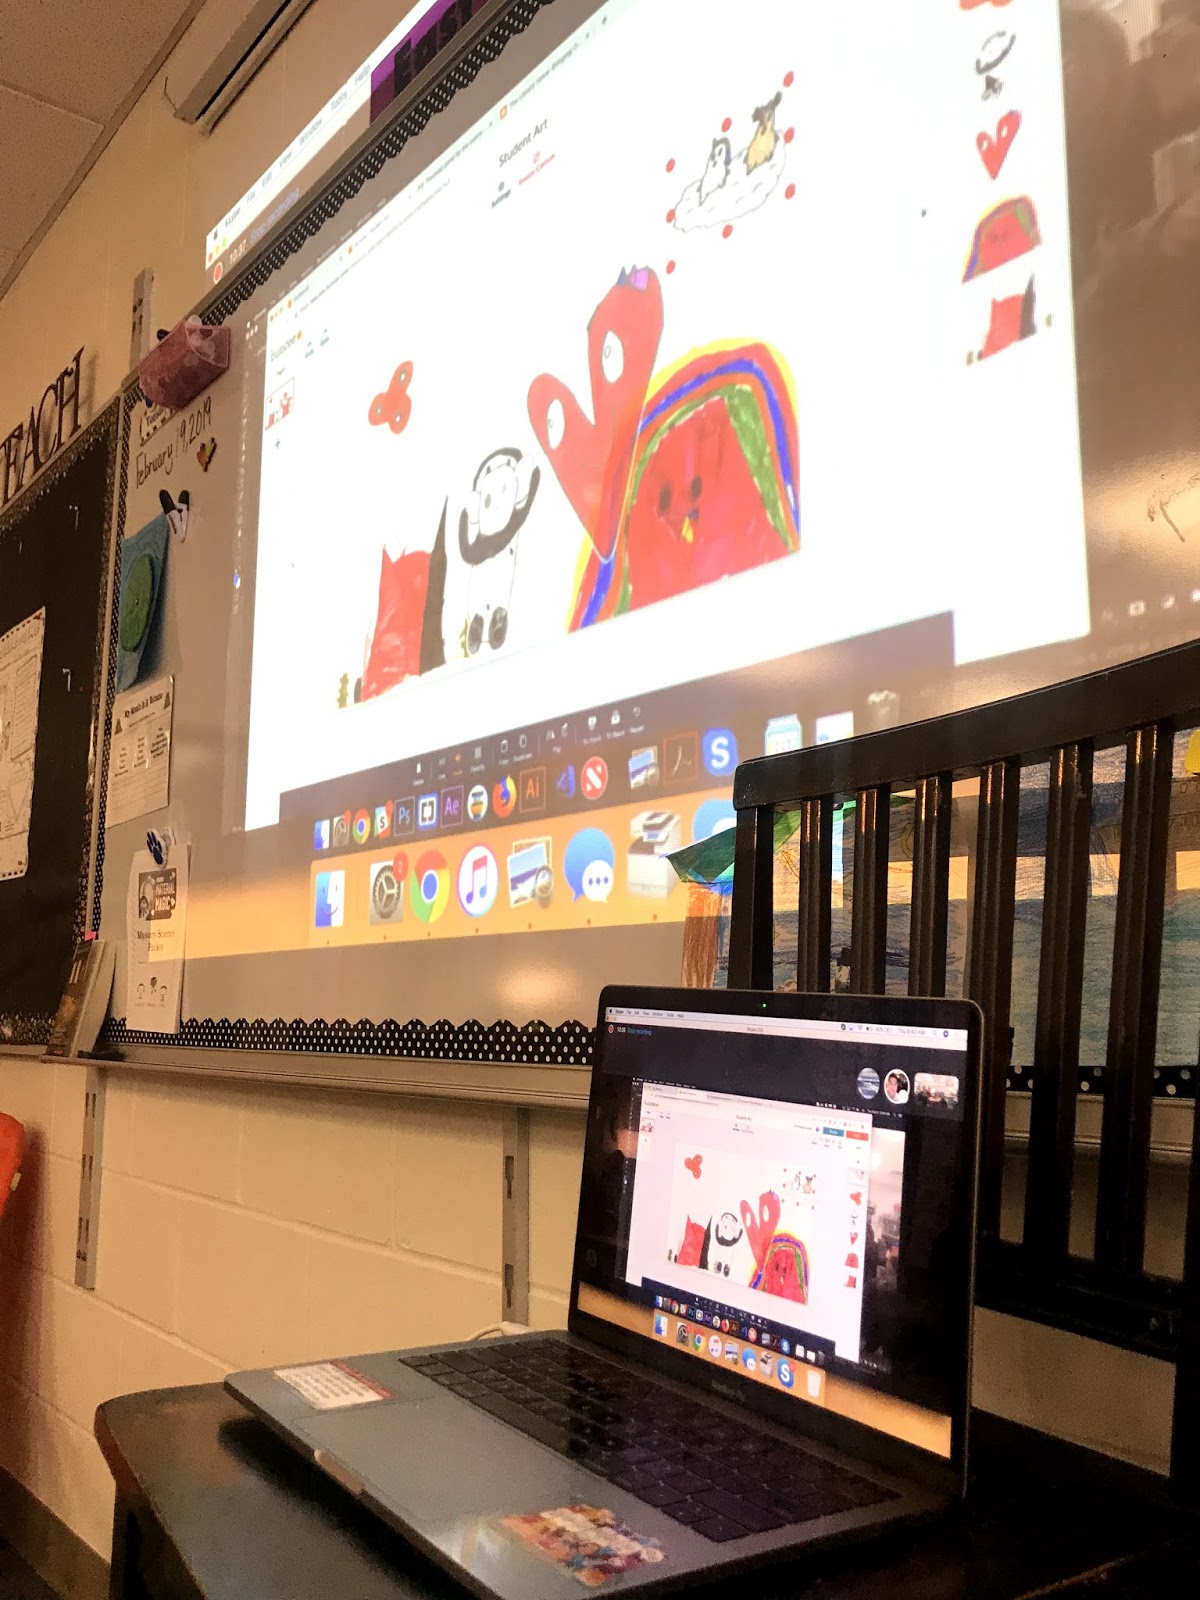
After each Skype, we gave them time to work on their pages for the collaborative class Buncee, The Day Our Buncee Stickers Came To Life.

For this part, I created a handy little sheet in Buncee to tell them the 5 things they needed to do in their 1 to 2 page Buncee. It was helpful for them to have the boxes to check off and the image of the spot for their name and how to turn the Stitching feature on.
You will find this Buncee sheet here.

And remember from what I shared in the first post of this series, they had already worked very hard on a sketch of their Buncee and a rough draft of their story, so they were...

...ready to go.


...to create their very own.


And at the end of this exciting day, I visited Tracy Ferguson's classroom as Marie, Joel and the rest of the Buncee team Skyped in to....

...show them the behind the scene creation of their stickers and do one last big reveal, as you watched in the beginning of this post. It was so much fun!


We are still working on the creation of our collaborative story in Buncee, but I wanted to give you a little sneak peak of how we are going to stitch the Buncee pages together.
I will start with Mrs. Ferguson's 2nd graders.

When they were finished,

they shared their Buncee's with me.

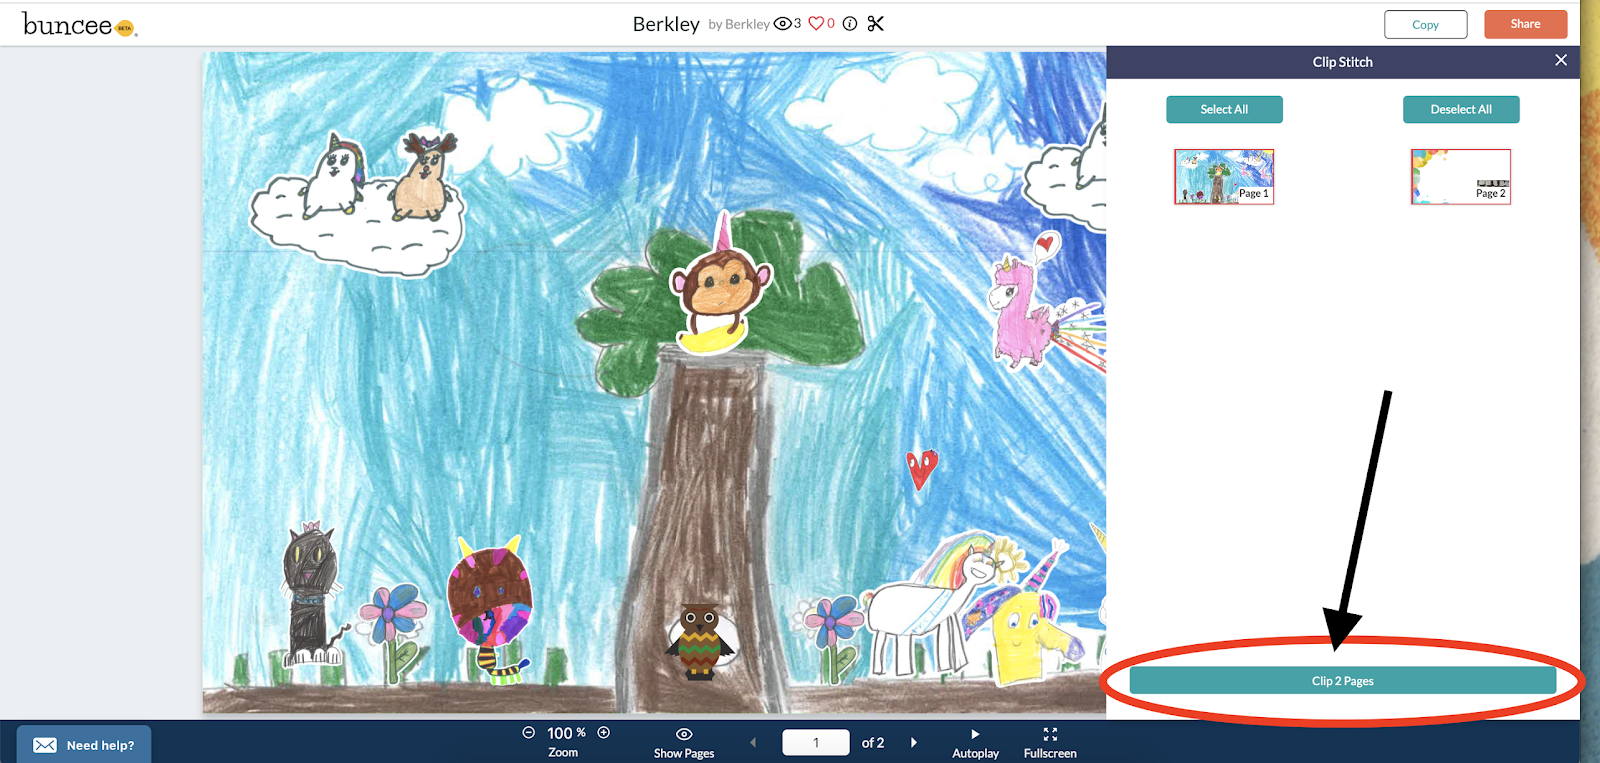


You can see the pages from the students on the left hand side, right under this fun title page I created.

Tomorrow, we will finish up their Buncee's and get every single students added to this big collaborative Buncee and then we will be ready to share....

The Day Our Buncee Stickers Came To Life, with all of you!
So check back in this week as I share the third post in this blog series, along with the lesson plan I developed for this project too.
And don't forget, the very last post will be the announcement of our new Buncee Student Artist Contest! We can't wait, friends to include your students in this very special part of Buncee too.
No comments:
Post a Comment