

Every summer, I love picking a few big projects for our school library that I can work on throughout the summer months.
In fact, my family and I watch lots of movies and shows at nighttime, so this is when I pull out my laptop and get creative with library materials and lessons. I find it to be so much fun and relaxing.
Well, tonight as we watched a new series on television, I got started on the first big project for our library that I have been dreaming of creating for the last few months.

I am creating a Google Classroom for our library!

As our teachers, students and families use Google Classroom for so many things at our school, I think that our library needs a place here too. I have a Google Classroom for the library already, but it is a simple spot and one I use to share resources and project guidelines with our students as I co-teach and collaborate with the teachers throughout the year.

I also have a library site in Google Sites. This is the place I have spent dozens of hours building and a place I hope our students, teachers and families visit to connect to books, reading, learning, technology, our library and so much more. But....reality is, I really don't think it is visited as often as I would hope.

So, here I am....planning and creating the Welcome to Our Library at Van Meter Elementary Google Classroom to take care of these things, thought and more.
This summer, I am going to be sharing this journey from start to finish on my blog.
First step, let's create a Google Classroom and get it set up to start adding, organizing and bringing it to life.

Within Google Classroom, click on the + sign in the upper right hand corner. It is circled with an arrow in the image above.


Once those details are filled in, click on Create in the bottom right hand corner.
 Once your new Google Classroom is created, you can then Customize the banner by clicking in the upper right hand corner.
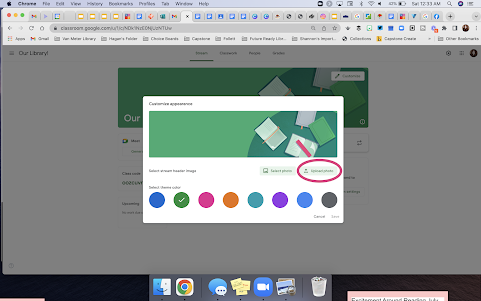 When Customize is clicked on, you can...

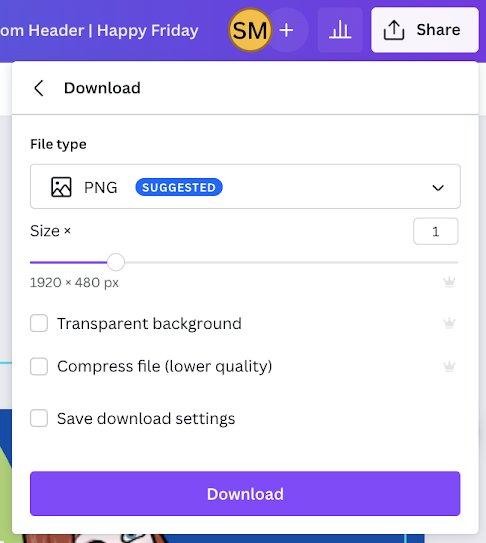 Once it was created, I Downloaded the image as a PNG...
 ...and Uploaded it into the Google Classroom.


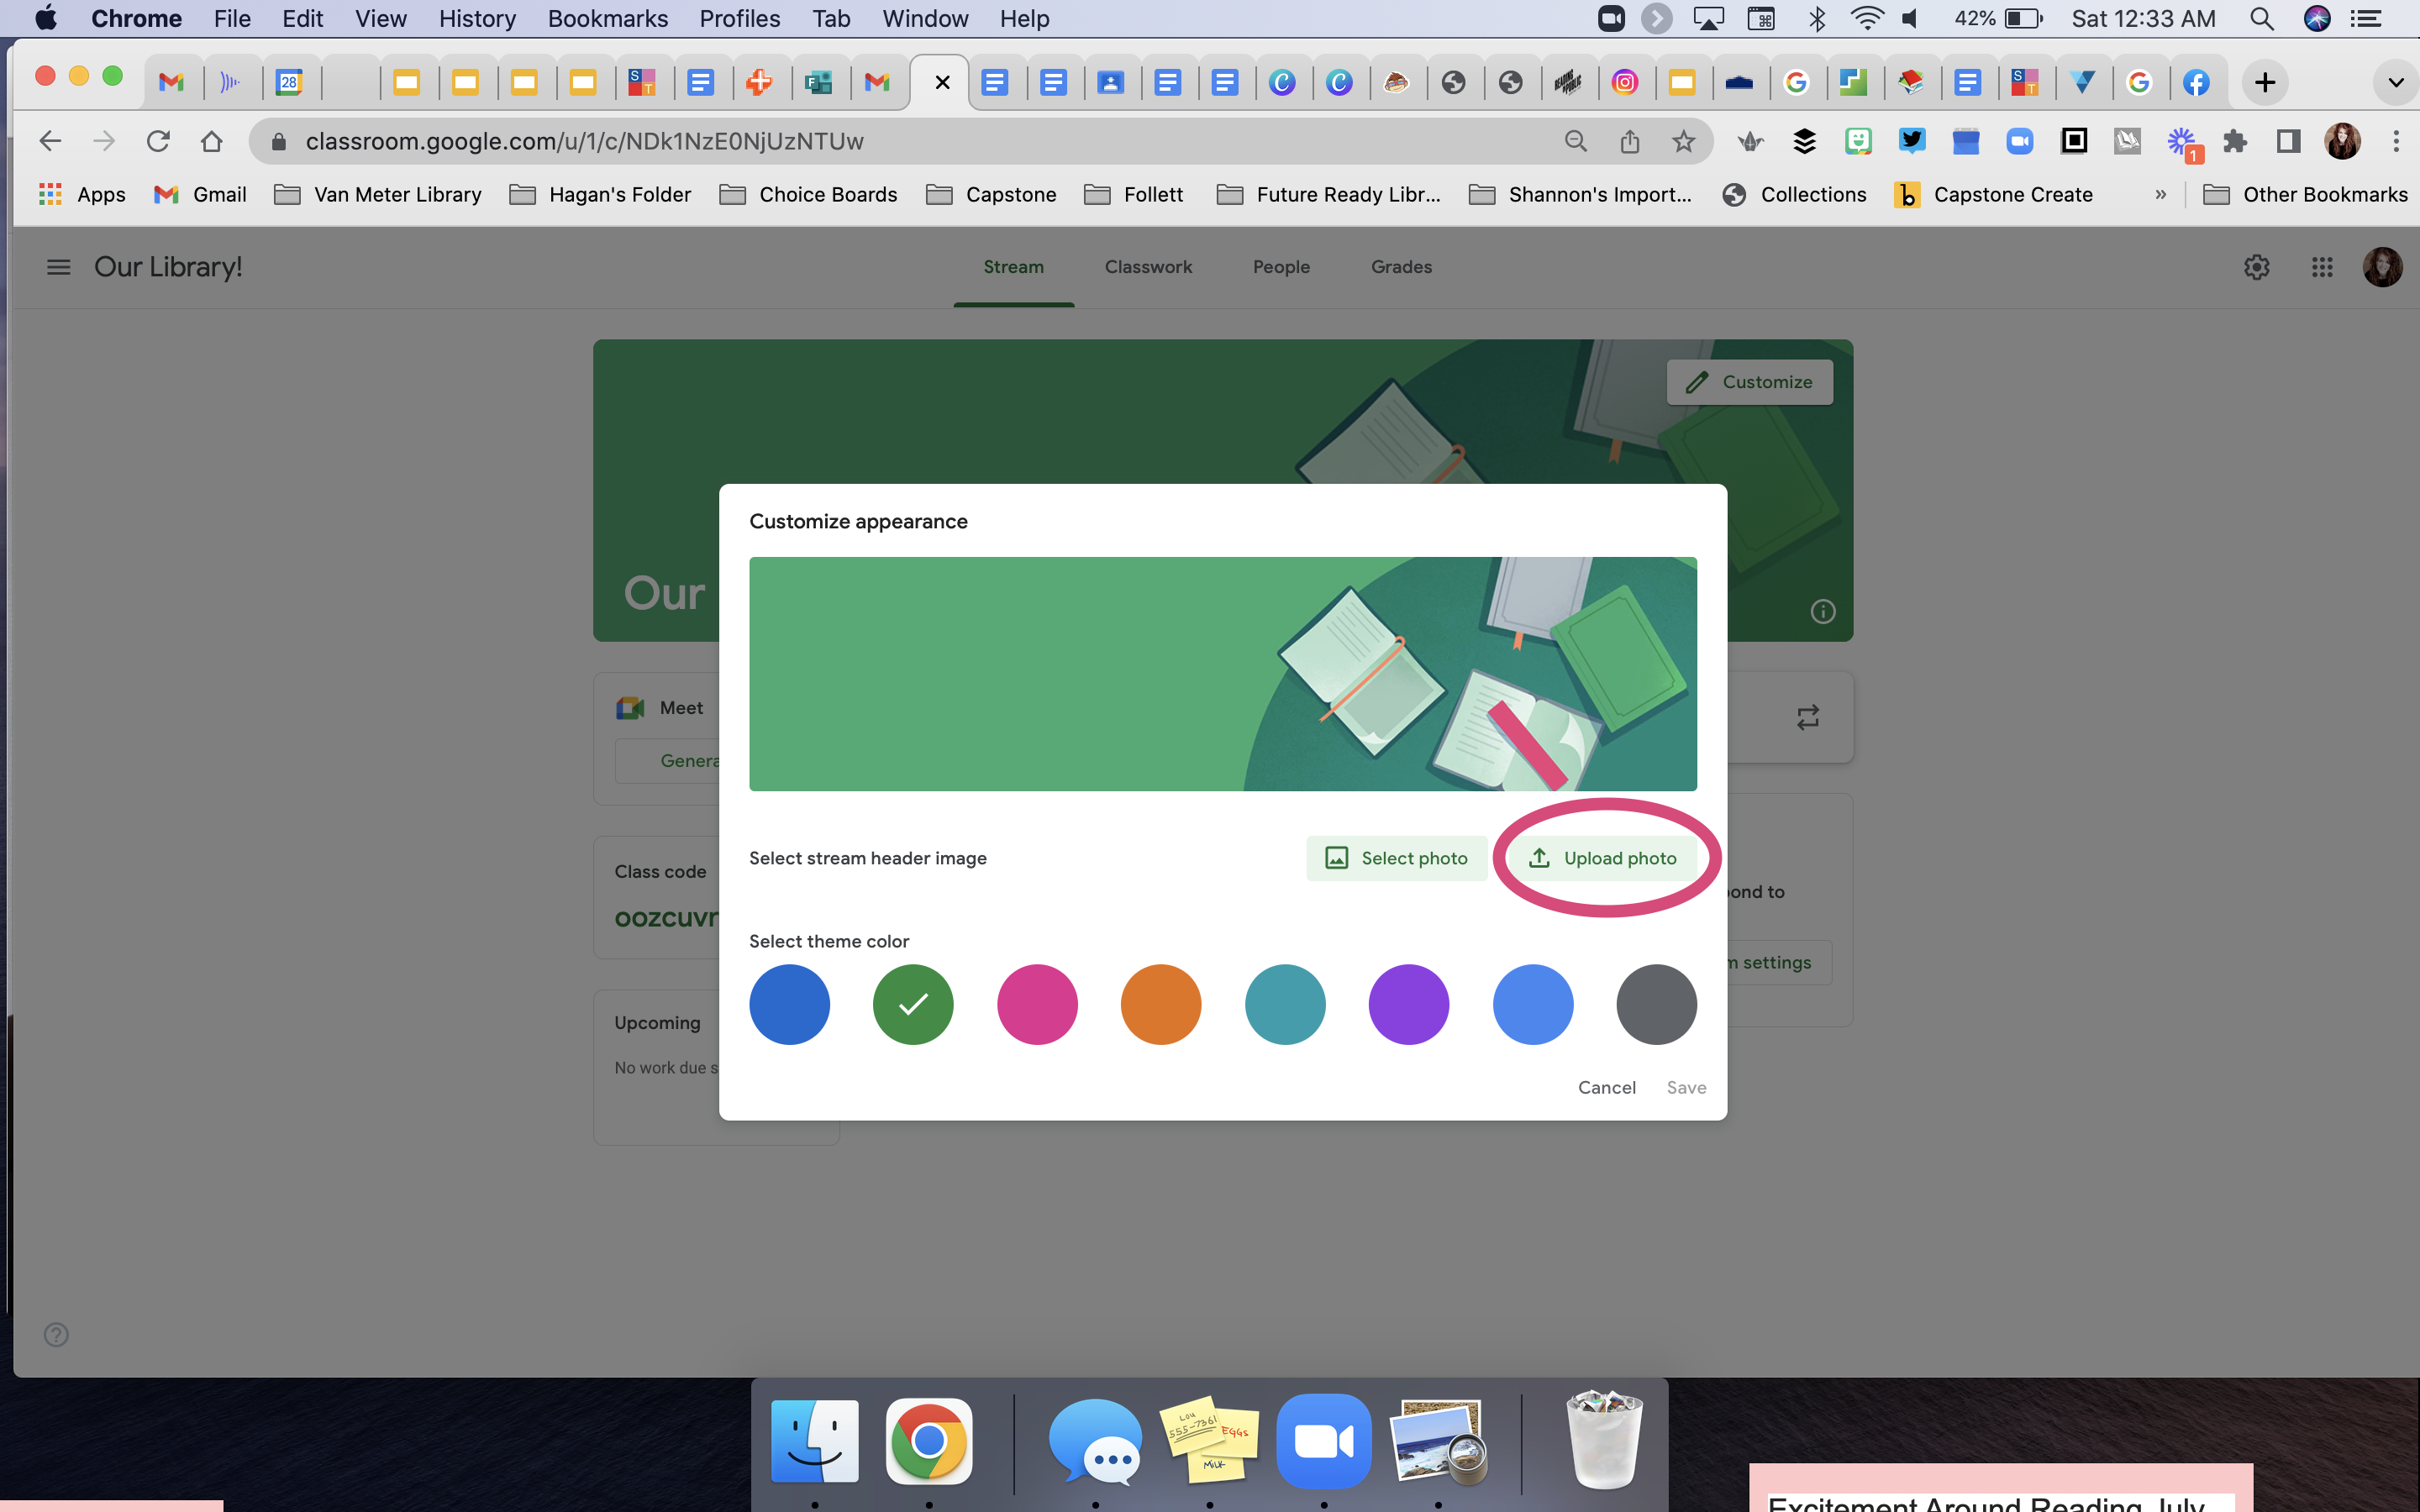
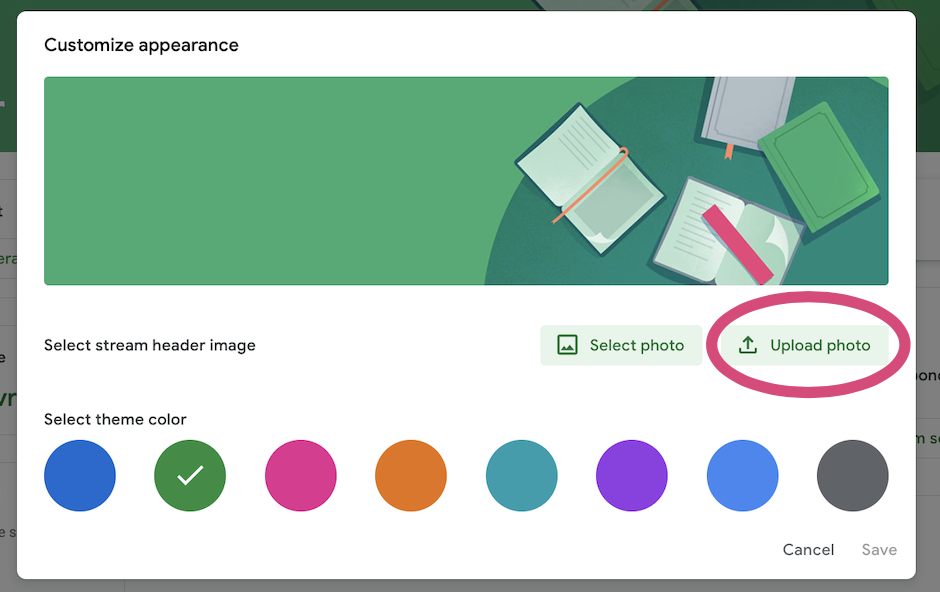
....Select a Photo from images they have placed into several categories or Upload a Photo.
I love customizing Google Classrooms and Google Sites with headers I create using Buncee, Canva, Google Slides and more, so Upload a Photo is what I usually select.

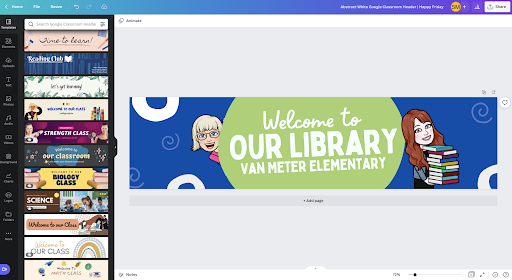
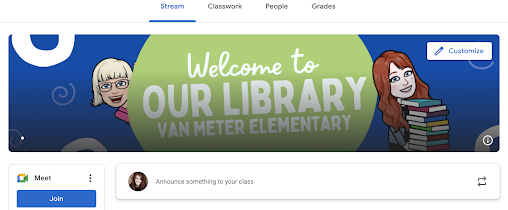
For Our Library Google Classroom, I created a header in Canva.
In Canva, if you search Google Classroom, dozens of header templates and examples will pop up. I picked one, made some changes and added my library associate, Diana, and myself using the Bitmoji Chrome Extension.


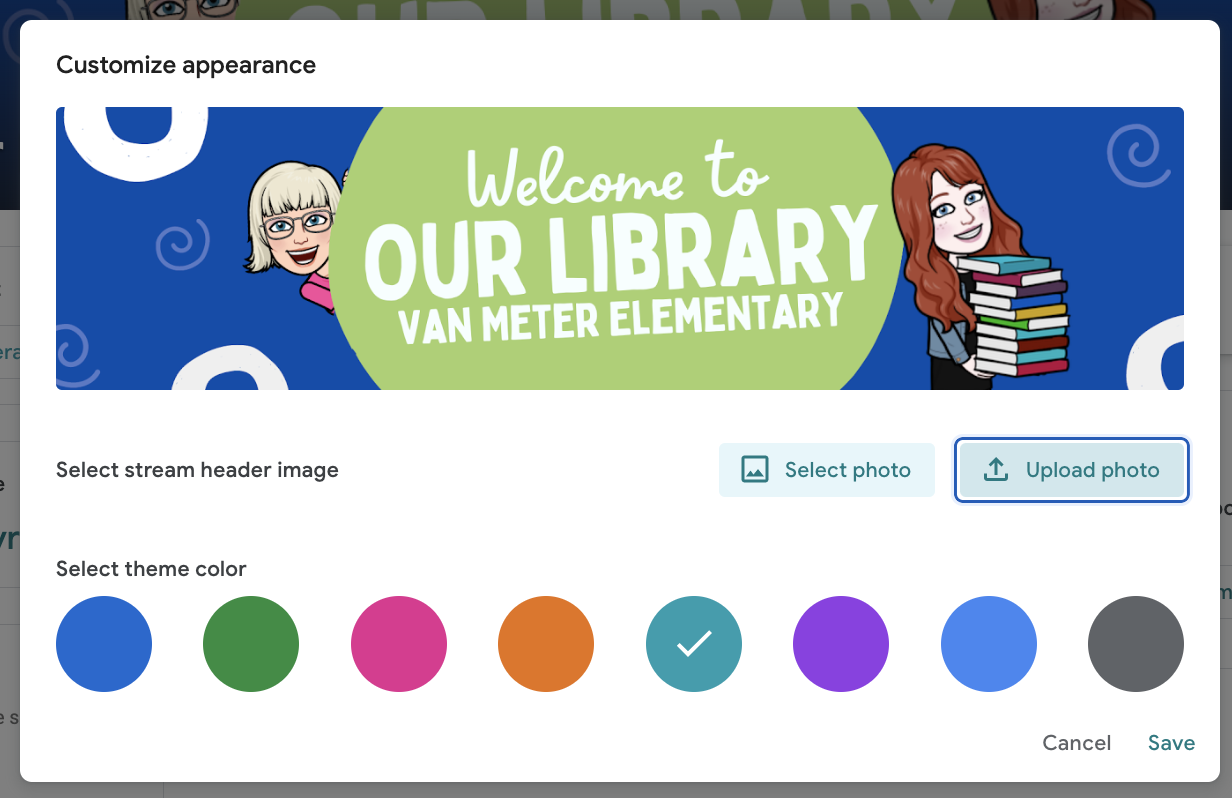
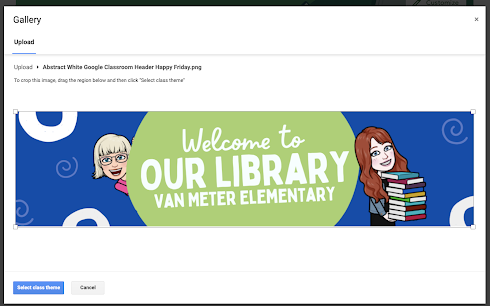
Once the header was uploaded, I also Selected The Theme Color.
Everything looks good! I know the kids will love seeing Di and I in the library Google Classroom.

Now, I am set to start adding things to our new library Google Classroom.
In the next post, I will share how to do this. I hope you create your Google Classroom and come back for the next steps too, friends.
No comments:
Post a Comment