I love dreaming up new projects with our teachers. A few weeks ago, one of our kindergarten teachers at Van Meter, Shelby McIlravy and I sat down to collaborate on a project. She wanted to use PebbleGo and PebbleGo Create for a new project with her students.
This wasn't their first time using PebbleGo Create. During the holiday, we teamed them up with their third grade buddies to create a special project together. It was the perfect introduction for our youngest learners and one that left them wanting to use it themselves too.
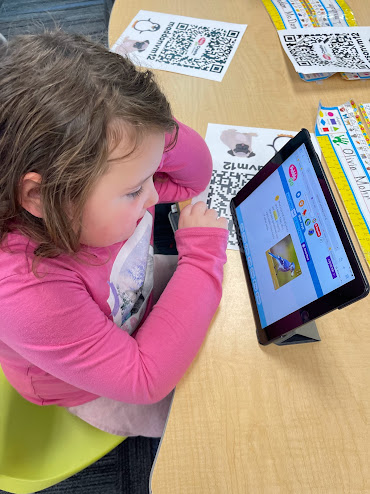
For this project, Shelby mentioned they were learning about oviparous animals. Oviparous animals are those who lay eggs.To kick off the project, we asked them to research their favorite oviparous animal in PebbleGo.
They love learning and researching in PebbleGo and spent a lot of time searching for their favorite oviparous animal.
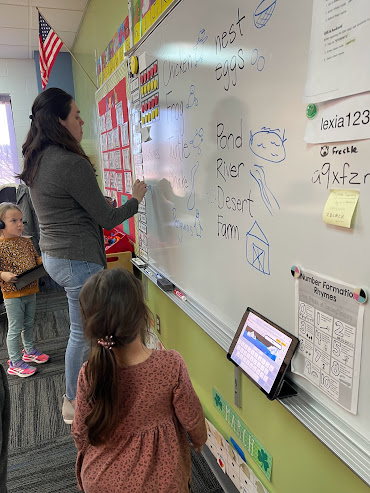
After they had time to research and pick their animal, Shelby and I helped them brainstorm the animals and their habitats. We wrote the animals, habitats and other words or phrases on her white board so the students would have these while creating in PebbleGo Create.
This was super helpful for the kindergarteners as they searched for the background, stickers and animations they wanted to include in their PebbleGo Create.
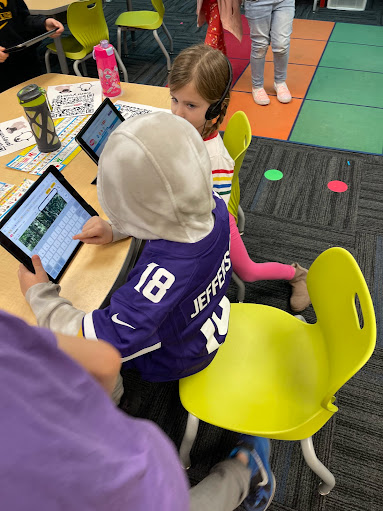
It was a lot of fun watching each student create something different in PebbleGo Create.
They love searching for the things that will make their creation their own and highlight all they have learned. They couldn't wait to share their creations with their classmates and families.
As they finished up in PebbleGo, Shelby and I wanted to do something that would bring their work together in a fun and creative way.
I mentioned it would be fun to use a green screen tool and put them into their background with a video to share about their projects. I had just learned how to use Canva for removing the background in a video (That's right...without a green screen!) so I decided to use Canva for this project.
I started by recording each student sharing about their project. I used Photo Booth on my MacBook.
They wrote down the facts about their oviparous animal on this.......little half piece of paper Shelby gave them. They did an amazing job sharing what they research and learned about their animal.
Next, I started a presentation in Canva and...
...added a title slide and......introduction slide sharing what our project was all about.
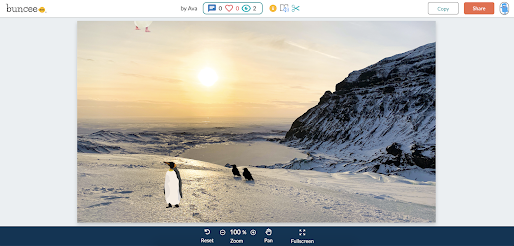
Next, I went into each students PebbleGo Create and....
I uploaded these into Canva.
I also uploaded their videos.
Each student had a slide. I first uploaded their PebbleGo Create background and then their video. You can see how the background is still in Ava's video.
To remove the background, just click in the left hand corner on Background Remover.
It automatically removes the background of your video with one click on Background Remover. You can see how the background is gone in her video. I can move this around anywhere I'd like or make it larger or smaller. It is super easy and quick. It took me about 20 minutes to complete all of Shelby's students and add a few slides at the beginning and end of the presentation.
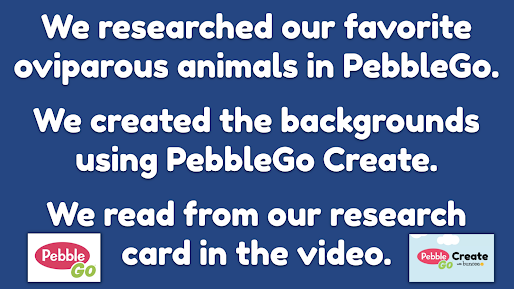
Take a look at what we included in their project. I used Canva and PebbleGo Create to create these slides too.
You can watch Mrs. McIlray's amazing kindergarteners and their research project here.
We love their work and creativity came together to create this special project.









No comments:
Post a Comment